How to Take Better Airbnb Photos
Have you decided to take Airbnb photos of your home yourself? Before you start, here are some tips for you to take some pro-pictures! Do borrow or buy the best camera you can find, and also a tripod! You are likely going to spend at least two or...
by Pass the Keys
|Airbnb Tips
|Airbnb Management
|Holiday Let Management
|Carmarthenshire
|29 Nov 2018
Have you decided to take Airbnb photos of your home yourself? Before you start, here are some tips for you to take some pro-pictures!
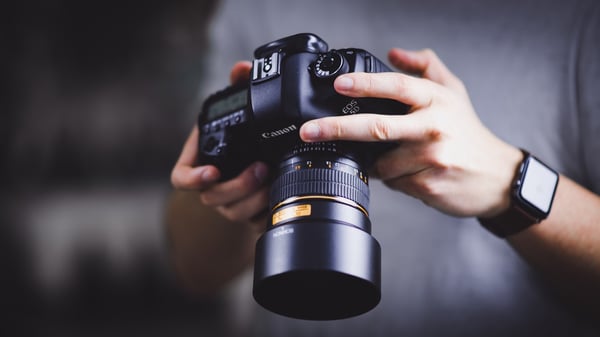
- Do borrow or buy the best camera you can find, and also a tripod! You are likely going to spend at least two or three hours preparing for the shoot, take the pictures, and then edit them. Why waste your precious time on a camera that may prove to be disappointing, right? So, please only use the best camera you can find. You won’t regret it.

- More is more! Airbnb (and other platforms too) allows you to upload many pictures, so please take many! Take pictures of the bedrooms, of the place settings, of the coffee machine, of the view from the windows, of the front gate, of the tube station nearby, of the trees lining your street, etc. and etc. The more there are for the guests to see, the easier it is for them to imagine themselves staying in your home. And with that nudge from their imagination, they may very well book the place and turn that into reality!
- Step back a little and think from a guest’s perspective: When you think as yourself, i.e. the owner of the place, you may want to, say, take a picture of the living room with focus on your favourite painting on the wall. For a guest, however, that may not be very useful. So put yourself in their shoes: if they are single young people, they may want night life, so take a picture of your neighbourhood (your local bar or pub) at night. If the guests have children, they may require security, so take a picture of the gated entrance that your building has, or of the children playing on your street; etc. When you take the kind of pictures that appeal to the specific needs of your guests, you’ll definitely make their decision making process easier.

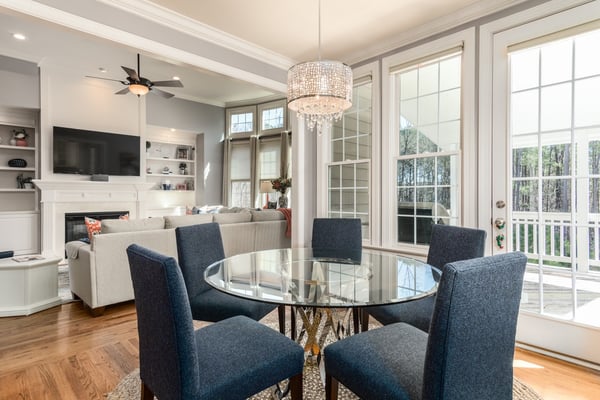
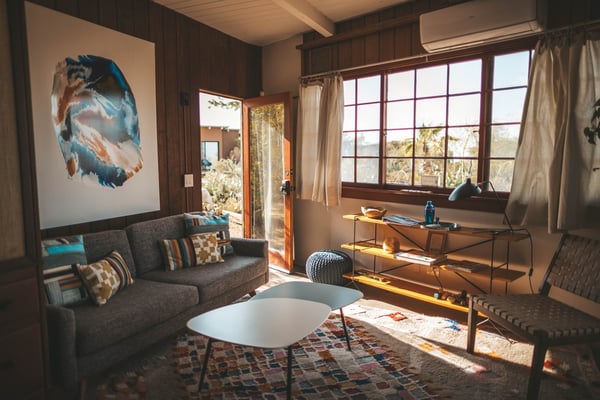
- Prepare seriously. We assume that you know already that you have to clean your place like it is going through an inspection, right? So let’s move on to the other preparation steps? OK! The preparation has to start from the timing: the best time to take photos is when you have a steady stream of sunlight in your home, usually around 3-4pm in the afternoon when the sun is not too strong but the light is bright enough. Do check the weather of course to avoid cloudy days. Next, while arranging for the shoot, pay attention to the details. For the kitchen: lay out your place settings (with napkins, wine glasses, candles, etc.). For the living room: put out the tea set, the cute coffee mugs, the fashion magazines, the luxurious throws. For the bedrooms: make the pillows fluffy, put a small vase of flowers on the bedside table, etc. Please still keep it simple though, if you lay out too many things, you’ll likely create visual overlaps in your pictures and make the place look smaller.
- Take some photo tips from the pro. Taking pictures inside a home is very different from taking pictures of landscape, or of a human being. So do flip through some research from professional interior photographers to know some basic rules. Some rules we can share with you are:

- Landscape mode is always better than portrait, because it always gives the space a bigger look and feel.
- Use the grid tool: every camera should have built-in tool where grid lines are shown to you. You should use it to align the natural horizontal (floor, skirt boards, etc) and vertical lines (walls, shelves, etc.) of your home! This is great to avoid your room looking like the leaning Pisa tower.
- Shoot into a corner: that is the best way to make the eyes truly ‘see’ the space. Shooting into a wall will not help this.
- One focus for each picture: focus helps draw the eyes into the area of the photo that you want them to. This helps highlight the item you are focusing on, and also helps the imagination of the guests.
- Always take two or three shots of the same picture. You never know what you can do while editing, so the more you have, the more you can work with later on.
And... that’s it from us about photo taking!
Good luck and let us know how good your photo taking skills are or any other tips you’d like to share!
If you are an Airbnb Host interested in short-letting your property, but do not have the time to take care of your flat or guests, we, Pass The Keys, are here to help! Call us now at +44 20 8050 2818 to get a Free Assessment